


Can You Wash Sneakers in the Sink? A Practical Guide
Can you wash sneakers in the sink? Yes, with the right method: a gentle hand wash, a check of your materials, and a dry that keeps odor away.

Last Updated: November 2, 2026
Quick Summary
A time-saving sneaker maintenance routine means cleaning in short, repeatable bursts so dirt never sets in: a 60-second brush and wipe after every wear, plus a 15-minute weekly session on one pair at a time. Handling dirt at stage one means you almost never need heavy scrubbing.
A time-saving sneaker maintenance routine is not about cleaning less. It is about cleaning in short, repeatable bursts so dirt never sets in.
Collectors and daily wearers often say the shoes they love most get cleaned last. Small, timed habits fix that.
Dirt has stages. Fresh dust brushes off in seconds; ground-in grime on a midsole takes real work.
A daily sneaker care routine takes about a minute and prevents most of the mess you would otherwise scrub later. Do it before the shoes go back in the closet, while the dirt is still loose.
Take a soft brush and go over the upper in quick, light strokes. Work from the toe box toward the heel. This lifts surface dirt, dust, and debris before it works into the material.
Skip this and loose grit grinds into the fibers as you walk. A soft brush is the right tool, anything stiff can scratch leather or rough up suede.
Run a damp cloth or microfiber cloth over the spots that touch everything: the toe, the heel counter, and the sides near the sole. A quick wipe down handles smudges and light marks before they dry into stains.
Let the pair air dry for a few minutes before they go back on the shelf. That is the whole daily habit: one minute, two steps.
A weekly sneaker cleaning routine works best when you clean one pair per session, not the whole rack. Fifteen focused minutes on a single pair beats an hour spread thin across five.
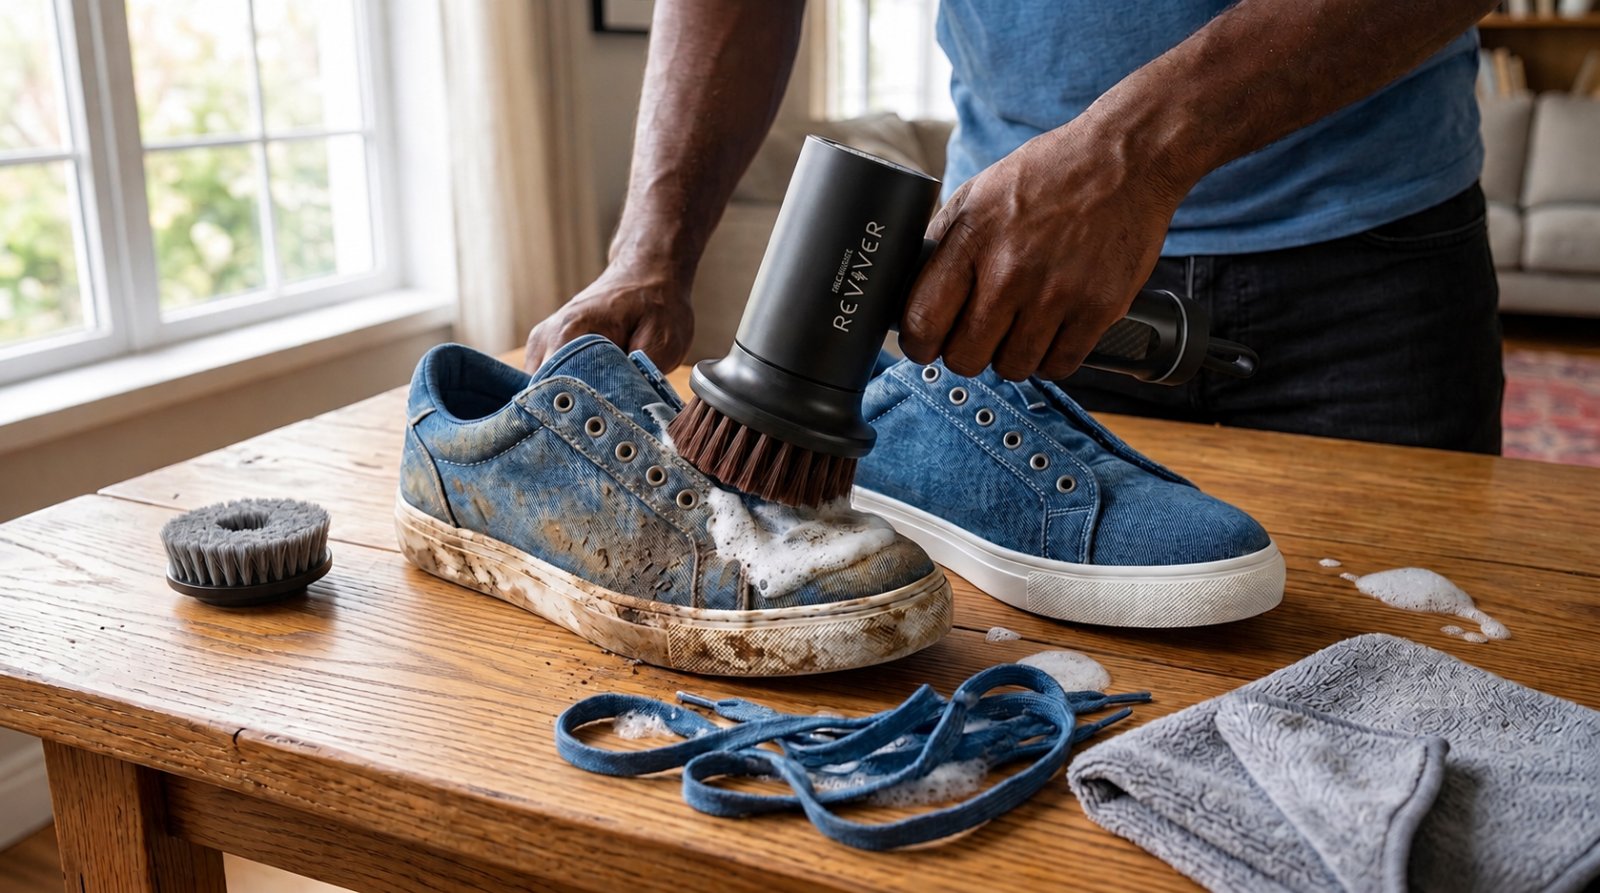
Pick the pair you wore most this week, set a timer, and follow this order.
Pull the laces and insoles out before anything else. This does two things: it lets you clean the tongue and collar properly, and it stops dirty laces from smearing clean fabric.
Clean insoles and fresh laces can make a pair feel fresher. Shoe hygiene starts inside the shoe.
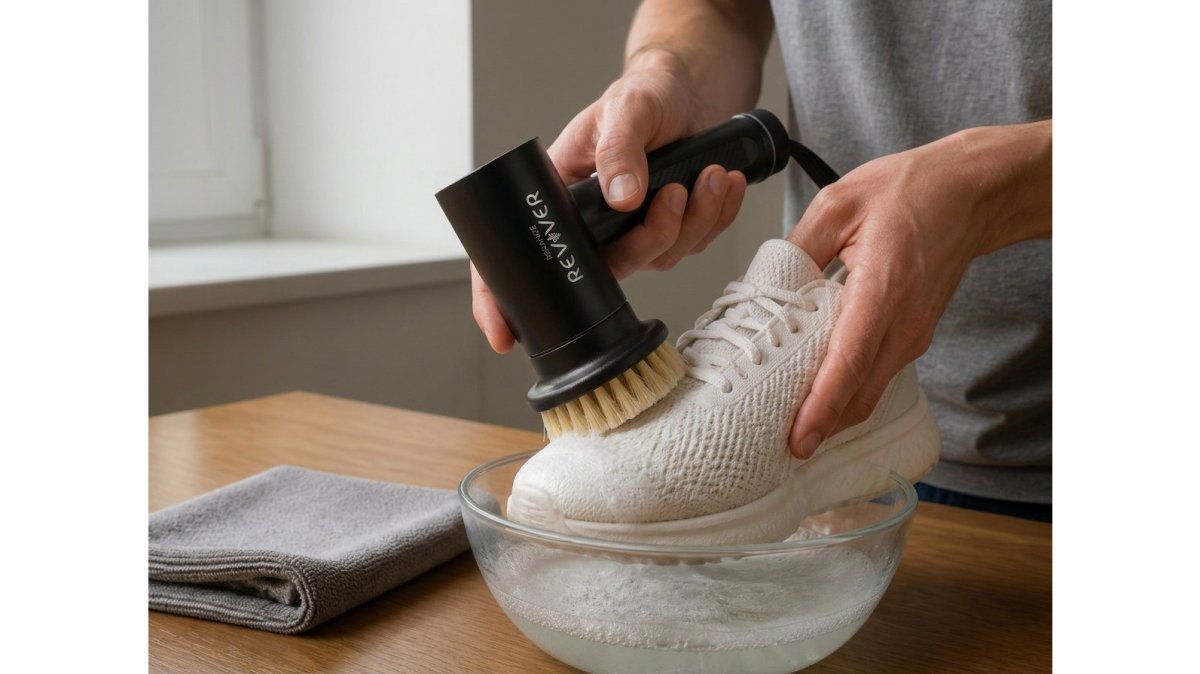
Mix a small amount of mild soap with water. Dip a soft brush or cloth and work the solution into stains with light pressure.
For the upper, a soft brush handles most surface dirt. For tougher buildup, step up to a firmer bristle brush.
This is where a powered tool can help: a spinning brush covers more area per pass, which can reduce the time spent on hand scrubbing.
The right sneaker cleaning tools cut minutes off every session; the wrong ones cost time and can damage materials. Keep the kit small and you will actually use it.
Rekanize
A minimal maintenance kit covers most needs:
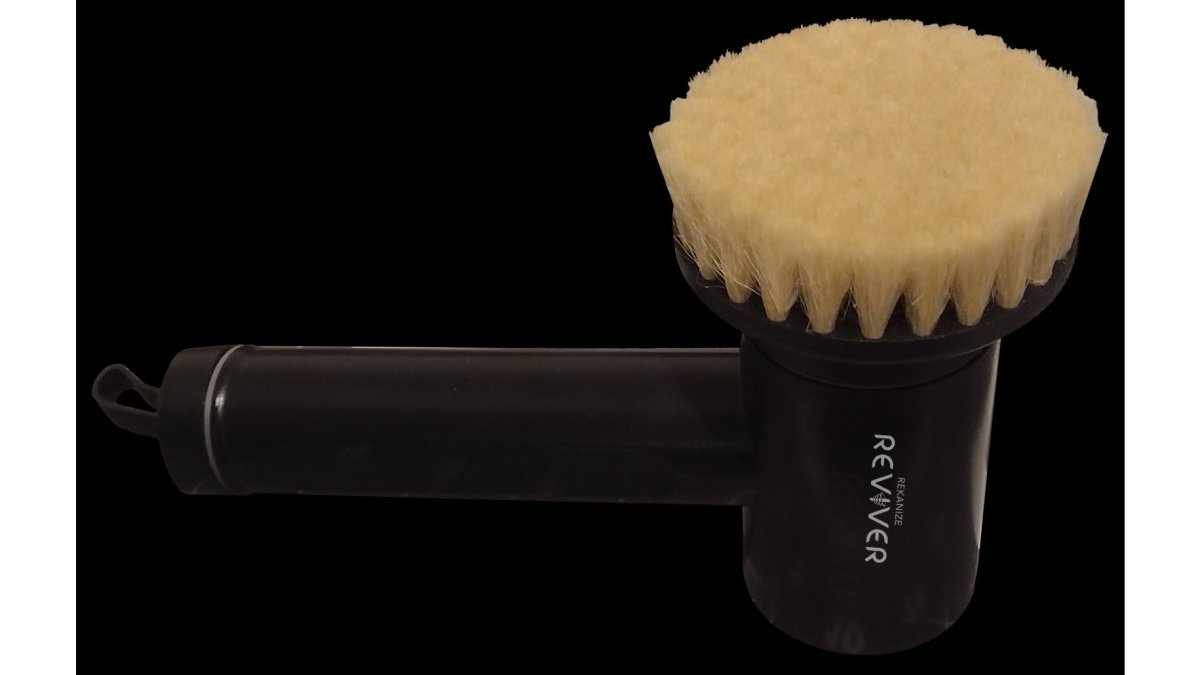
If hand scrubbing is the part that slows you down, a powered option changes the math. The Reviver electric sneaker cleaning brush does the scrubbing motion for you with 2 controlled speeds at 140 and 280 RPM.

Not sure which brushes you actually need? Our guide to essential sneaker brushes for every shoe enthusiast breaks down what each one is for.
Cleaning sneaker soles is the job people dread most and usually the easiest to speed up.
Start with a dry brush to knock off loose dirt and debris.
A few things that save real time:
A powered brush with a firm head can make quicker work of textured midsoles and tread. The spinning action helps reach grooves that a flat hand brush can miss.
Reviver – Electric Sneaker Cleaning Brush →
Material-specific care is where most cleaning mistakes happen, and most guides stop at “be careful.” The useful version pairs each common shortcut with a safe alternative and explains why the shortcut backfires. Footwear materials vary, so always follow the manufacturer’s care instructions and test any product on a small, hidden area first.
The shortcut: soaking leather or scrubbing it hard with a firm brush to lift a scuff.
Why it backfires: leather is a skin. Excess water swells and softens the finish, and stiff bristles abrade the top coat, showing up over time as dull patches and cracking along flex points.
Safe alternative: use a soft brush or barely damp microfiber cloth, work in light circles, and wipe suds away immediately with a clean damp cloth.
The shortcut: hitting a wet suede stain with a damp cloth and a firm brush.
Why it backfires: water can flatten the nap and leave a tide line, and stiff bristles can scar the surface.
Safe alternative: let the suede dry fully first, then use a specialized suede brush to lift the nap with light strokes. Our guide on how to clean suede sneakers safely walks through the full sequence.
The shortcut: scrubbing one stain aggressively with a stiff brush and concentrated soap.
Why it backfires: canvas is a woven fabric. Focused scrubbing can fray the weave and create a lighter, fuzzy patch that stands out more than the original stain.
Safe alternative: work the whole panel evenly with mild soap and a soft brush, using light pressure and rinsing the cloth often. Blot rather than grind.
The shortcut: pressing hard to push suds through the mesh, or using hot water to speed things up.
Why it backfires: mesh and knit fibers are fine and can stretch or pill under pressure, and heat can affect adhesives and shape, leaving a clean shoe that looks worn out.
Safe alternative: use gentle pressure, a soft brush, and cool or lukewarm water. Our guide on how to clean mesh sneakers without damage covers the details.
When in doubt, start with the least aggressive method: dry brush first, then a soft brush with mild soap, then escalate only if needed. If you want to use a powered brush on delicate materials, read our advice on safe cleaning for delicate sneaker materials before you start. Lower speed and a soft head are your friends here, and the Reviver’s Soft head paired with the lower speed gives you more control for lighter cleaning on surfaces that need a gentle pass.
Your care schedule should match how often you wear a pair and what the conditions are. A fixed weekly clean ignores reality.
| Wear Frequency | Daily Habit | Deep Clean | Watch For |
|---|---|---|---|
| Daily wear | Brush and wipe after each wear | Every 7-10 days | Buildup on toe and heel |
| 2-3 times a week | Quick brush after wear | Every 2-3 weeks | Dirt settling in stitching |
| Occasional or rotation | Brush before storing | Every 1-2 months | Dust and yellowing |
| Rain or snow exposure | Wipe and air dry same day | After each wet wear | Water stains and odor |
A larger rotation spreads the wear, so each pair needs cleaning less often. A small rotation of two or three pairs needs more frequent attention.
Weather matters too. Wet, muddy conditions call for a same-day wipe down and proper air drying.
Drying and storage decide whether a clean pair stays clean. Get this step wrong and you undo the work. The recovery sequence below is the part most guides skip, and it is the one that saves shoes after rain, slush, or a muddy walk.
Work in this order as soon as you get inside:
Shoes often feel dry on the surface while the interior is still damp. Give them extra time rather than rushing them back into rotation.
Some problems are beyond a routine clean, and recognizing them saves time and money:
Setting these expectations keeps you from wasting an afternoon on a problem that a routine cannot solve.
It depends on wear. A quick daily sneaker care routine, about 60 seconds of brushing and wiping after each wear, handles surface dirt and dust. A deeper weekly sneaker cleaning routine suits pairs worn three or more times a week, and pairs worn daily in wet or dusty conditions may need it twice weekly. Rotating several pairs spreads the load and stretches the time between deep cleans.
Remove laces and insoles, brush off loose dirt, then clean the upper and midsole in one pass with a damp cloth or a powered tool. A spinning brush with a 3-inch cleaning surface covers more area per pass, and two speeds let you switch between lighter cleaning and tougher dirt. Finish with air drying in a cool, dry place, never direct sunlight or heat.
Match the method to the material. Use a soft brush and gentle pressure on mesh, knit, and suede, and reserve firm bristles for outsoles. Test any cleaning solution on a small, inconspicuous area first, use mild soap rather than harsh detergents, and follow the manufacturer’s care instructions. Avoid soaking leather or suede, and never machine wash shoes unless the label explicitly allows it.
Clean soles separately from uppers. A firm-bristle sole brush with mild soap lifts scuffs and grime from rubber without wearing down softer upper materials. Wipe the sole dry after each wear to stop dirt from setting, and treat stubborn marks as spot cleaning jobs rather than scrubbing the whole sole.
Can you wash sneakers in the sink? Yes, with the right method: a gentle hand wash, a check of your materials, and a dry that keeps odor away.
Learn how often to clean expensive sneakers based on wear count, material, and conditions. Protect your collection with a routine that works.
