


7 Rules for How Often to Clean Expensive Sneakers
Learn how often to clean expensive sneakers based on wear count, material, and conditions. Protect your collection with a routine that works.

Last Updated: November 8, 2026
Can you wash sneakers in the sink? Often, yes, but only for certain materials and only with a gentle approach. A kitchen or bathroom sink lets you clean one pair at a time, control the water, and skip the risks of a washing machine. The catch is that not every shoe handles water the same way, so a quick check before you start matters. This guide walks through when a sink wash makes sense, how to do it step by step, and how to dry your sneakers safely.
Yes, you can wash most sneakers in the sink by hand. Canvas, knit, mesh, and many synthetic uppers handle a gentle wash well. Leather and suede need more care, and some shoes should not get wet at all.
Skip the sink if your sneakers have glued-on soles that are already peeling, cork or foam insoles that soak up water, or vintage pairs that you value for their original condition. In those cases, spot cleaning with a dry brush and a damp cloth is the safer choice.
Start by reading the care label, usually found inside the tongue or on the heel lining. The manufacturer’s instructions tell you whether water is safe.
Next, look for damage. Loose stitching, cracked glue lines, and worn foam midsoles can get worse when they soak. Fix small problems first, or wait until the shoe is repaired.
Finally, test sensitive materials. Dab a drop of cleaning solution on a hidden spot, such as the inside of the tongue, and let it dry.
A sink wash works best when you treat the basin like a workspace, not a bucket. The procedure below is built around a standard kitchen or bathroom sink, and it assumes you are cleaning one pair at a time.
Wipe the basin and faucet with a household spray and rinse thoroughly before the shoes go in. Sinks can hold food residue, soap scum, and bacteria, and you do not want any of that transferring into knit or mesh.
Decide which sink to use before you start. A bathroom sink is usually the better choice for footwear because it sees less food contact.
Remove laces and insoles and set them aside. Laces can go in a mesh laundry bag or a small bowl of warm, soapy water. Insoles should be hand-washed with a soft brush and a mild cleaner, then blotted and air-dried flat, never folded or wrung, since foam and cork cores can crack.
Tap the soles together over a trash can or outside. Use a dry brush on the upper to lift dust, dried mud, and grit. This step matters more than most people think: loose dirt turns into muddy slurry the moment it hits water, and that slurry works deeper into fabric than dry dirt ever would.
Lukewarm, not hot. Hot water can soften adhesives and shrink some knit and canvas uppers. Add a small amount of a footwear-safe cleaner or a few drops of mild dish soap. Skip bleach, harsh solvents, strong degreasers, and anything with a high acid or alkaline content; those can discolor fabric and break down glue lines.
If your sink is small, fill it only partway and plan to work in sections rather than submerging the whole shoe. A shallow basin is enough for uppers; you do not need the shoe fully underwater.
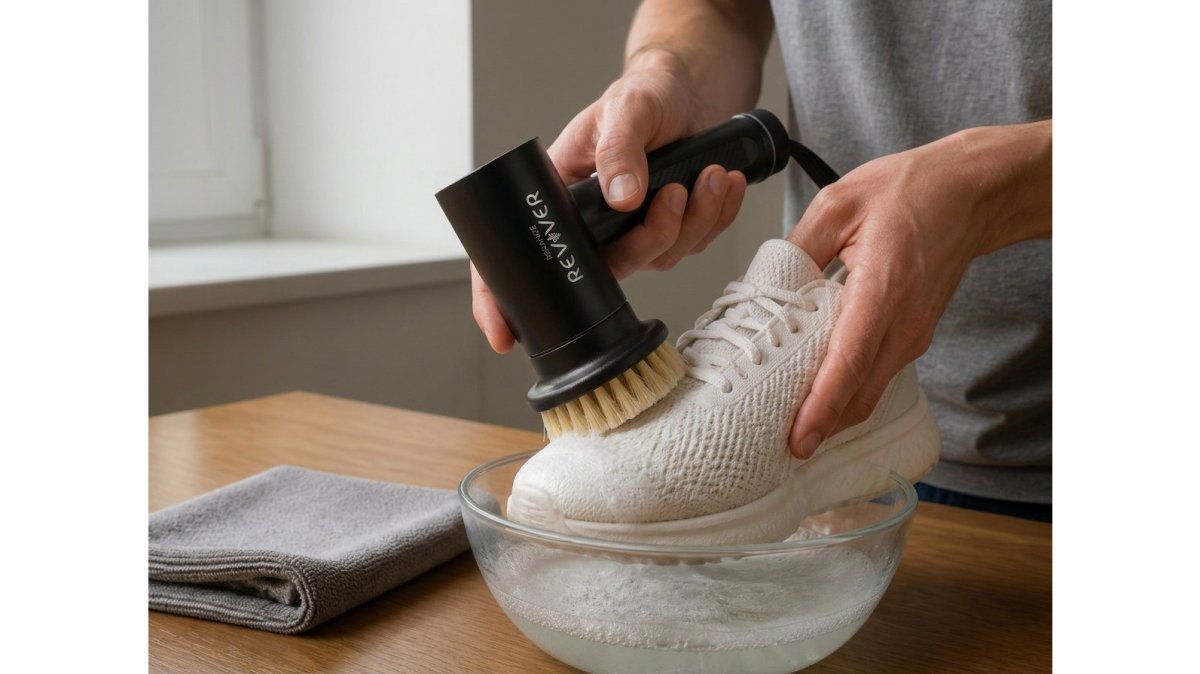
Submerge for only a few minutes. Long soaks soften glue and can set stains in some fabrics. Work in small circles with a soft brush, focusing on the toe box, midsole, and the seams where dirt collects.
Watch out: pressing hard on mesh and thin knit can stretch or tear the upper, so keep pressure light near seams and eyelets.
Run clean water over the shoes until no suds remain. Residual soap attracts dirt and can leave a dull film once dry. If your sink has a sprayer, use it on a low setting to push residue out of the seams without soaking the interior.
Gently squeeze the upper and pat with a clean towel. Never wring or twist the shoe; that misshapes the upper and stresses the glue line where the sole meets the fabric.
Before you pull the plug, think about where that water is going. A sink strainer catches grit and laces; without one, debris can clog the trap. Rinse the basin thoroughly afterward with hot water and a household spray, and wipe down the faucet and handles. If you used a utility tub, empty it outside or into a drain rather than a kitchen sink used for food prep.
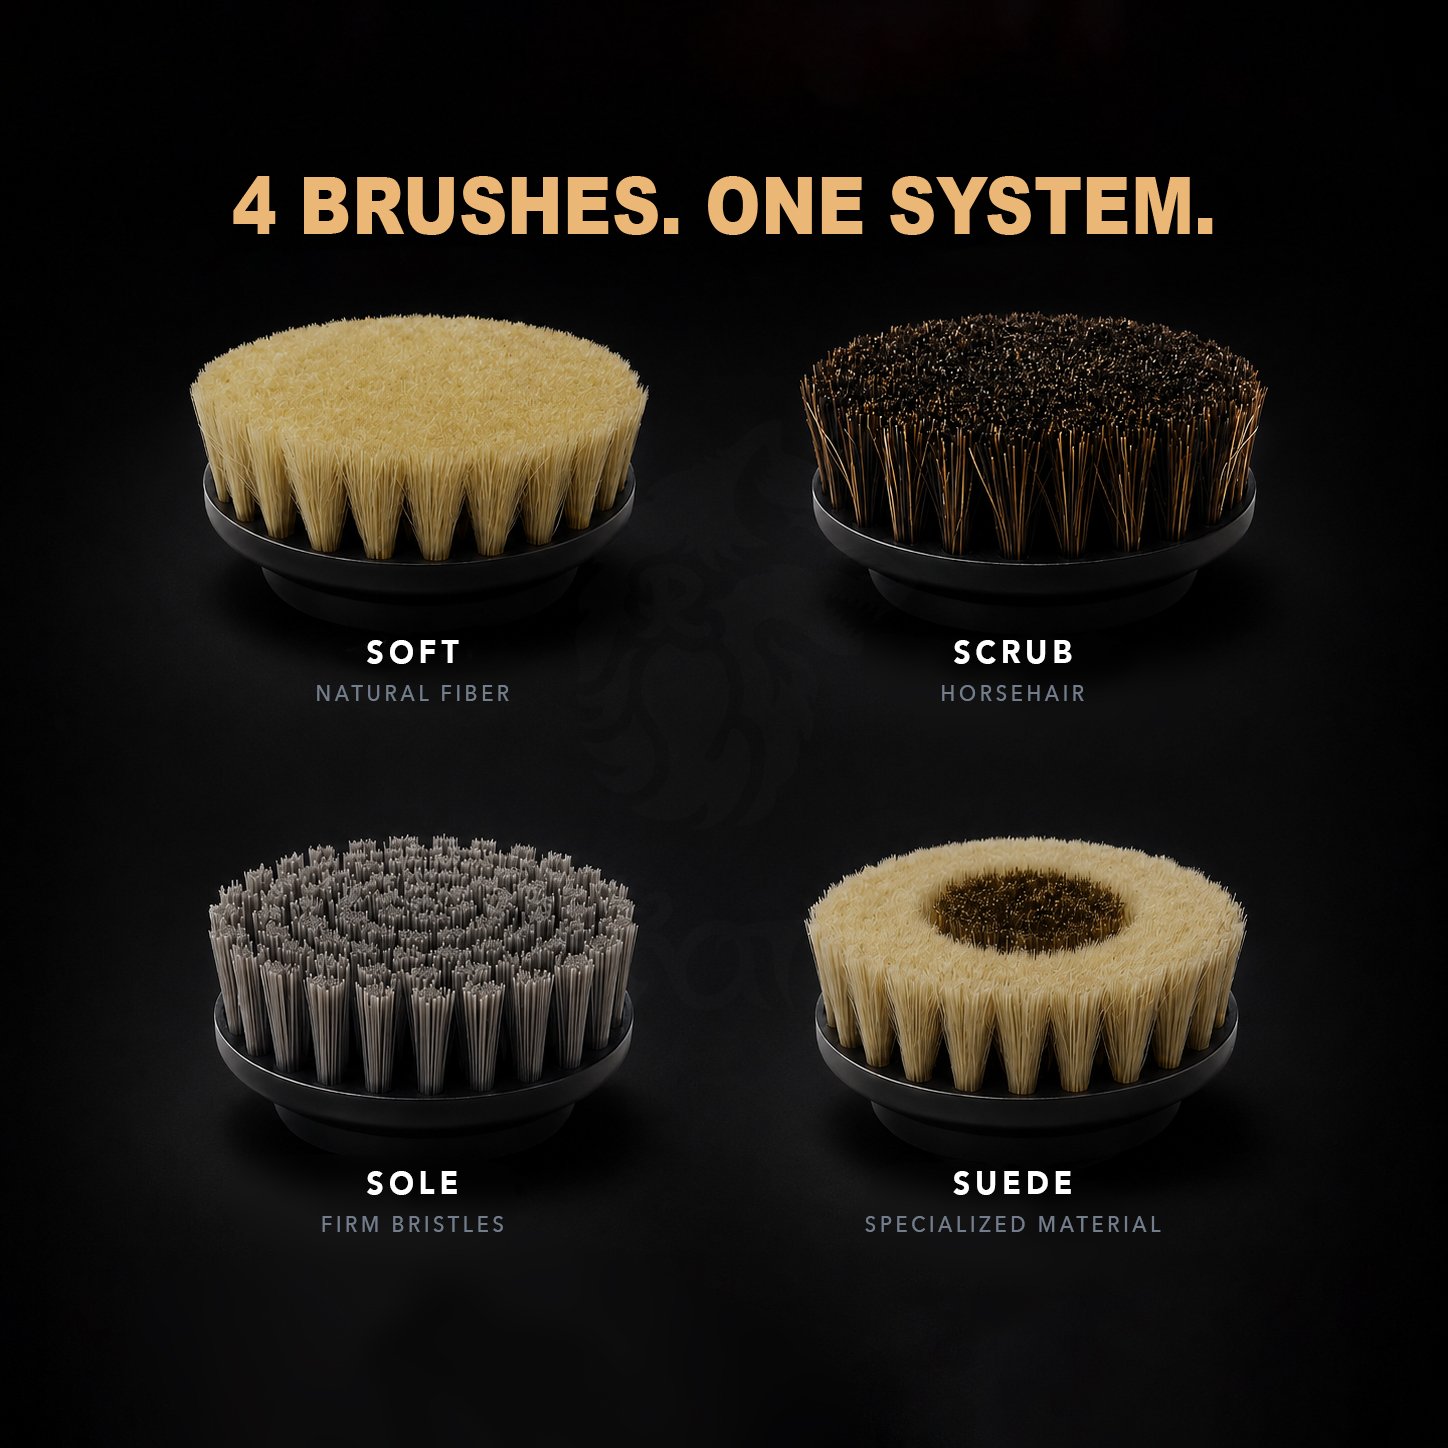
Use a mild footwear cleaner or a few drops of gentle dish soap. For brushes, a soft natural-fiber brush suits uppers, and a firmer bristle brush is better for rubber soles and outsoles. Match the tool to the surface, the same brush that scrubs a midsole can abrade a knit toe box.
Hand scrubbing is the slowest part of a sink wash, especially on textured soles and deep mesh. For a closer look at protecting mesh uppers while you clean the soles, see how to clean mesh sneakers without damage. If you are weighing a full setup, you can compare electric sneaker cleaning kits by speed, brush heads, and material safety.
Each stage of a sink wash has a specific job, and the timing and cautions matter as much as the action itself.
| Step | What to do | Time or note |
|---|---|---|
| 1. Prep the sink | Wipe basin and faucet, then rinse | Before shoes go in |
| 2. Strip the shoe | Remove laces and insoles | Hand-wash insoles separately |
| 3. Knock off debris | Tap soles and dry-brush the upper | Before any water touches them |
| 4. Fill with water | Use lukewarm water and a mild cleaner | Not hot water |
| 5. Soak and scrub | Soak briefly, then scrub in small circles | Soak only a few minutes |
| 6. Rinse | Run clean water until no suds remain | Until water runs clear |
| 7. Press out water | Squeeze gently and pat with a towel | Never wring or twist |
| 8. Contain dirty water | Use a strainer and rinse the basin | Rinse basin with hot water |
Suede does not do well in a sink. Water can stain it, flatten the nap, and leave rings as it dries. Instead, work dry.
Start with a suede brush or a clean, dry brush. Brush in one direction to lift dirt from the surface. For scuffs, use a suede eraser, rubbing gently until the mark fades.
Let the shoe air-dry away from heat. Once dry, brush again to restore the texture. If the suede is heavily stained, a professional cleaner is the safer option.
Soles collect the most dirt, so they usually need the most scrubbing. Clean them separately from the upper when you can. Mask off the upper with painter’s tape or a cloth if you are using a stronger cleaner on the sole.
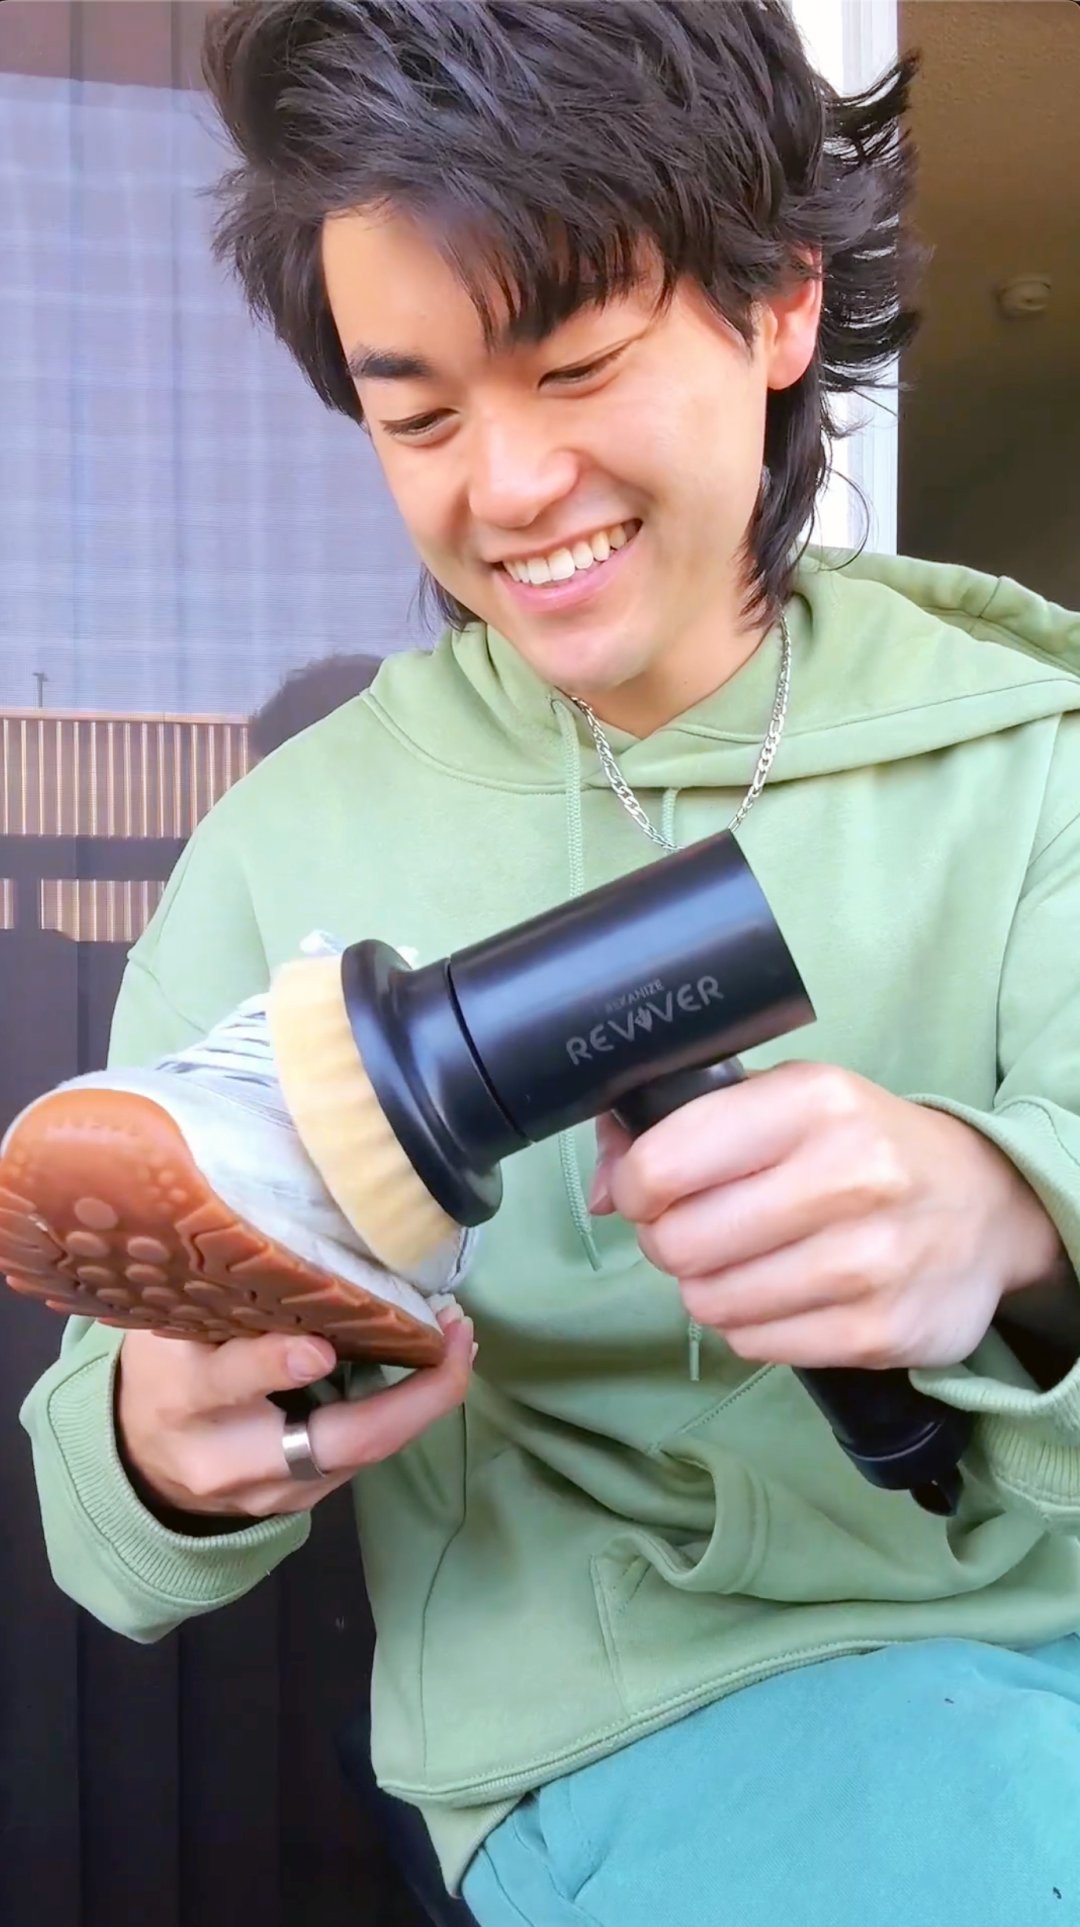
Use a firm brush on the midsole and outsole, working in short strokes. Rinse and wipe away any cleaner that reaches the upper.
Avoid soaking the entire shoe if only the sole is dirty. Spot cleaning limits moisture and protects the glue lines.
Drying is where a good sink wash can still go wrong. Trapped moisture is the leading cause of odor, mildew, and delamination after a wash, and heat is the fastest way to ruin a pair you just cleaned.
A clothes dryer reaches temperatures that soften and warp foam midsoles, melt the adhesive that bonds the sole to the upper, and shrink knit and canvas uppers. Even a low-heat cycle can leave a pair misshapen or with a sole that peels within a few wears. The same logic applies to radiators, space heaters, and the top of a refrigerator, any direct heat source is a risk.
Stuff each shoe loosely with paper towels or a clean cloth to hold its shape and pull moisture from the interior. Do not pack tightly; you want air to move. Replace the stuffing when it feels damp, usually once or twice in the first few hours.
Place the shoes in a well-ventilated spot with indirect airflow. A fan pointed at the shoes from a few feet away speeds drying without heat.
Drying time depends on material and humidity. Thin mesh and knit can dry in several hours to overnight. Canvas and thicker synthetics typically need 24 hours. Leather and suede can take one to two days, and padded collars and tongue foam hold moisture longer than the rest of the shoe.
A simple check: press a dry paper towel into the toe box and heel. If it comes out even slightly damp, the shoe is not ready. Wearing a damp sneaker traps moisture against your foot and accelerates odor.
Mildew needs moisture and darkness, so the goal is to dry the interior completely before the shoes go back in a closet or box. If a pair smells musty after drying, sprinkle a small amount of baking soda inside, let it sit overnight, and shake it out. Cedar shoe trees or fresh paper help absorb residual moisture between wears.
Watch out: putting damp sneakers in a gym bag or a closed closet is the fastest route to mildew, even if the outside feels dry.
Laces dry quickly, lay them flat or hang them, and they are usually ready overnight. Insoles should be blotted, then air-dried flat, not propped upright, since foam and cork can warp. Do not put insoles back in the shoe until both the insole and the interior are fully dry.
Regular, light cleaning keeps sneakers looking good longer and makes deep cleaning less frequent. A quick brush after wear and a fast spot clean between washes can prevent dirt from setting in.
Reviver can help make those sessions easier. It is cordless and charges over USB-C. Pick the soft brush for uppers and the scrub brush for soles, and always test on a small area first. Explore Reviver to see how it fits into your cleaning routine, or read our guide to cleaning suede sneakers if your rotation includes suede pairs.

Yes, for most sneakers a sink is a reasonable place to hand-wash, as long as you use lukewarm water, a mild soap, and a soft brush. Clean the sink before and after, and rinse it thoroughly so no soap or grit remains. Avoid soaking shoes with glued parts, delicate knits, or suede for long periods, and always check the manufacturer’s care label first. If the shoe has a warning against water, skip the sink and spot-clean instead.
Suede is the most sensitive material to water, so washing it in a sink is not recommended for most pairs. Water can stain the nap, leave rings, and cause the leather to stiffen as it dries. Instead, brush off dry dirt with a suede brush and use a suede-specific cleaner on small areas. Test any product on an inconspicuous spot first, and follow the care instructions for the pair.
Remove excess water by pressing the shoes with a dry towel, then stuff them loosely with paper towels or a clean cloth to hold their shape and wick moisture. Let them air-dry at room temperature, away from direct sunlight and heaters, and keep them out of the dryer. Drying can take a day or more, so start early. Replace the stuffing once it becomes damp to help prevent odor and mildew.
Learn how often to clean expensive sneakers based on wear count, material, and conditions. Protect your collection with a routine that works.
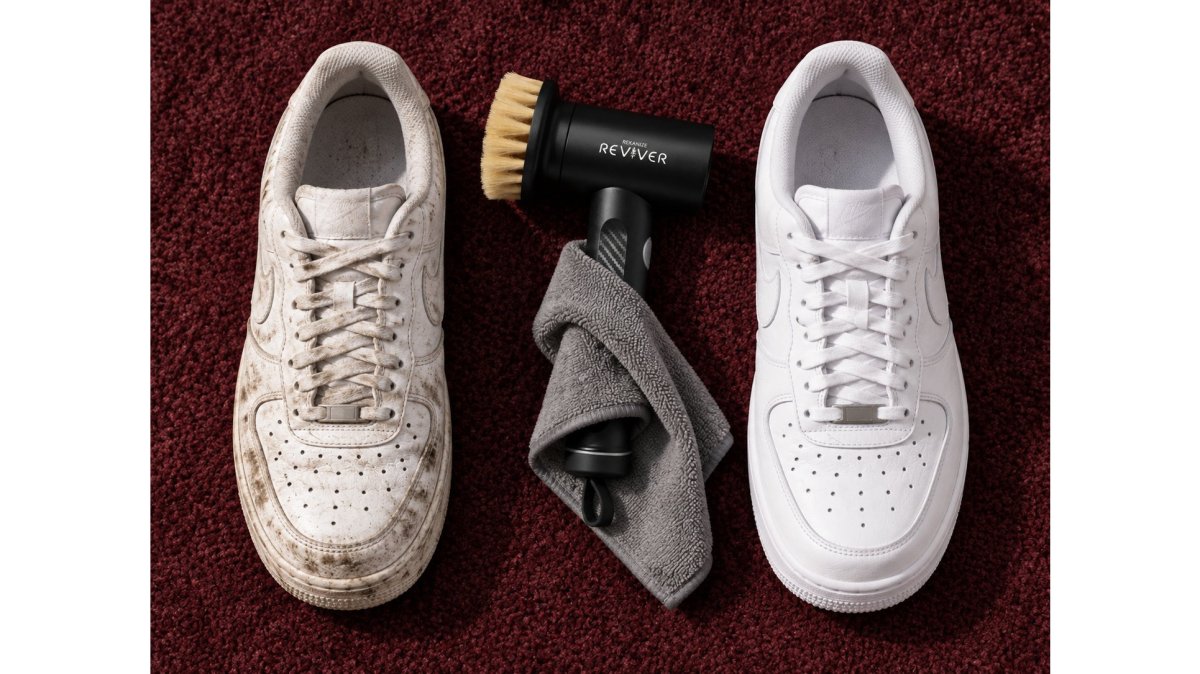
Learn how to clean dirty sneakers fast with a timed, material-safe method. Compare hand-cleaning, machine washing, and baking soda for quick results.
