

Can You Wash Sneakers in the Sink? A Practical Guide
Can you wash sneakers in the sink? Yes, with the right method: a gentle hand wash, a check of your materials, and a dry that keeps odor away.

Last Updated: October 21, 2026
Safely cleaning limited edition sneakers starts with one hard truth: the materials on a collectible pair are often less forgiving than the ones on your daily beaters. A collaboration pair might mix suede overlays with knit underlays and a printed midsole, and every one of those surfaces reacts differently to water, friction, and pressure.
The stakes are real. Once a suede nap is crushed or a print is scuffed through, there is no reset button, and resale value follows condition closely. That is why the approach below is built around control: less moisture, less pressure, and a brush matched to each surface. Below, we break down the full at-home workflow, the mistakes that cost collectors money, and when to hand a pair to a professional instead of touching it yourself.
The safest at-home method is a dry-first, section-by-section process: prep and brush off loose dirt, treat laces and insoles separately, clean the upper with a brush matched to its material, then rinse lightly, air dry, and deodorize. Working in stages keeps water away from seams and gives you a chance to stop if a material reacts badly.
Start completely dry. Brush off loose dirt, grit, and dried mud with a soft brush before any liquid touches the shoe. Knock out the insoles, remove the laces, and stuff the shoe lightly with paper to hold its shape. This step prevents dirt from turning into muddy paste that pushes deeper into the material.
Clean the components separately. Hand-wash laces in a small bowl of mild soapy water, scrub insoles gently with a soft brush, and work the outsoles with a firmer bristle brush. Keeping these parts out of the upper’s cleaning session means you are not dragging sole grit back across delicate panels.
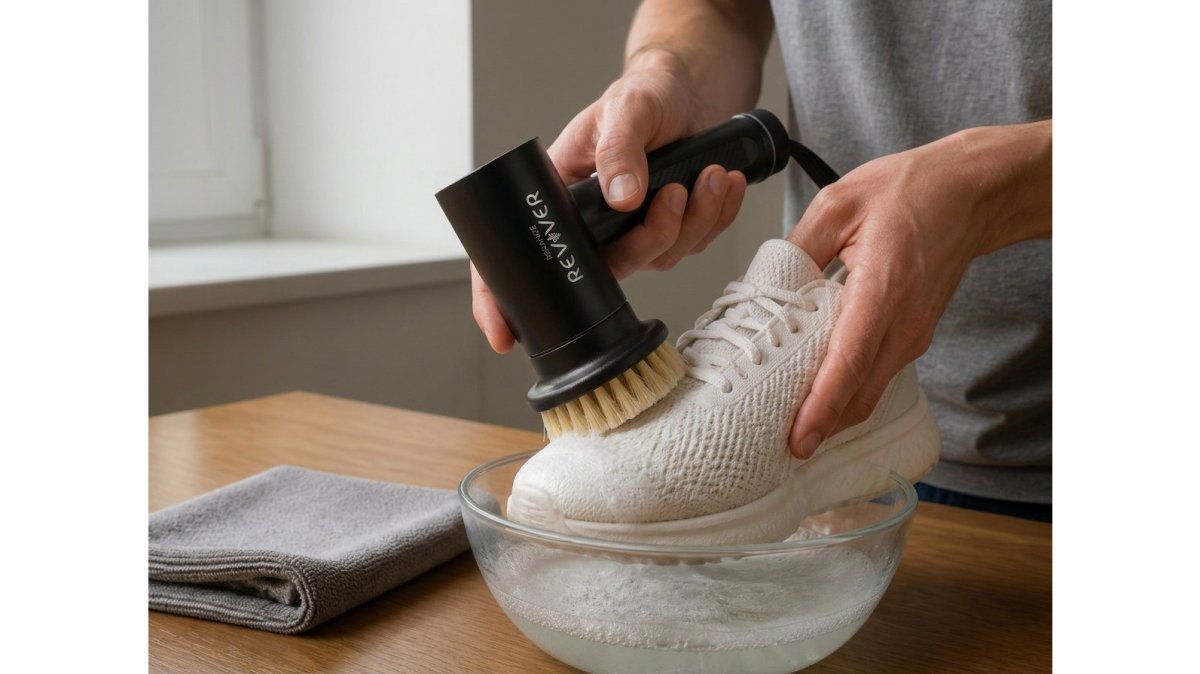
Match your brush and moisture level to each panel. Use a soft brush and light foam on knit, mesh, and canvas, a suede brush on nubuck, and a damp cloth on smooth leather. Work in small circles with minimal water, and wipe foam away with a clean microfiber towel before it soaks into seams.
Rinse by wiping with a clean damp cloth rather than running the shoe under water. Air dry at room temperature, away from direct sun and radiators, with paper stuffed inside to absorb moisture. Finish with a light deodorizing spray or a sprinkle of baking soda left overnight, then brush it out.
|
Step |
What You Clean |
Tool |
Watch Out For |
|---|---|---|---|
|
1. Prep |
Loose dirt, insoles out |
Soft brush |
Scrubbing wet dirt into seams |
|
2. Components |
Laces, insoles, outsoles |
Soft brush, firm sole brush |
Cross-contaminating the upper |
|
3. Upper |
Knit, mesh, suede, leather |
Material-matched brush |
Too much water, too much pressure |
|
4. Finish |
Residue, odor |
Microfiber cloth, deodorizer |
Direct heat while drying |
Suede and nubuck demand the least moisture of any material on this list. The nap is a layer of fine fibers, and water plus friction is what mats it down.
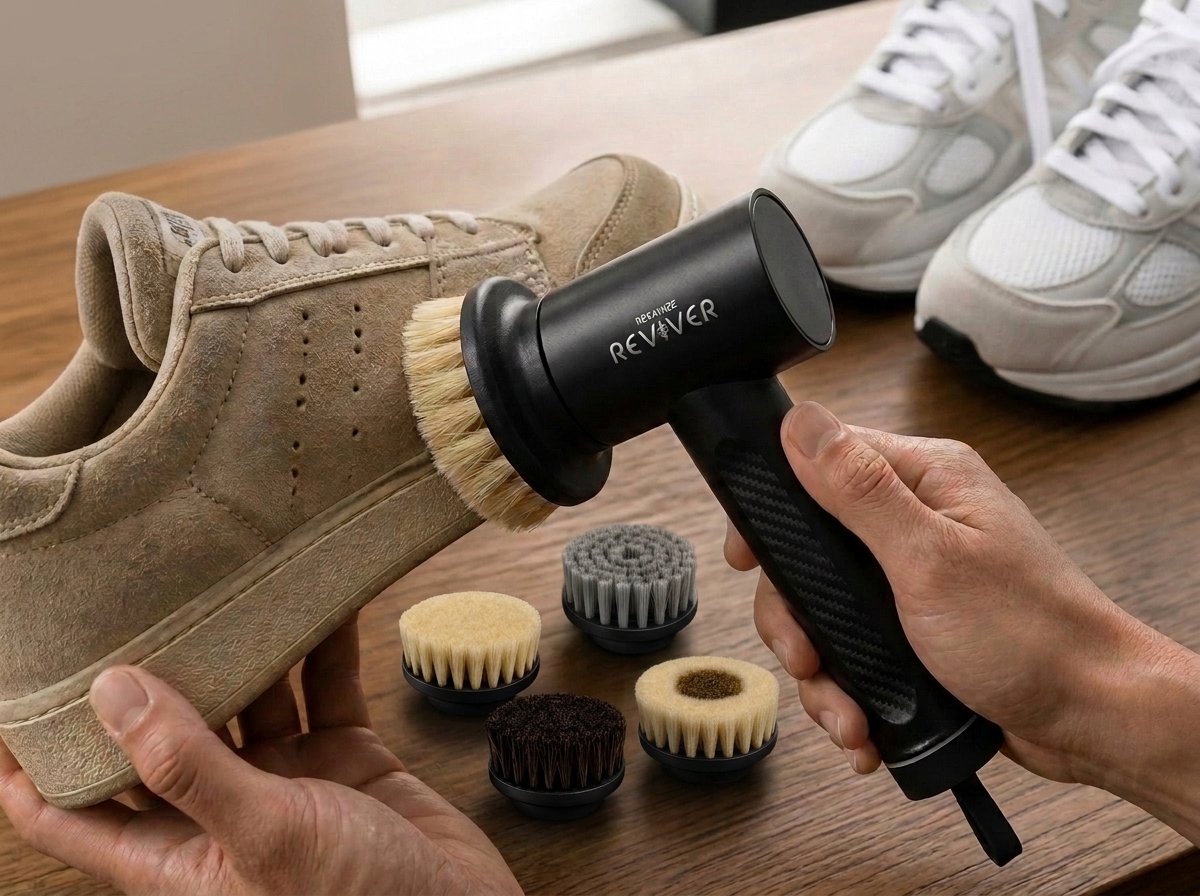
Start by brushing dry with a suede brush in one direction, not in circles. The goal is to lift grit out of the nap rather than push it deeper.
For stubborn marks, a dedicated suede eraser works better than liquid cleaner because it lifts the mark mechanically instead of wetting the fibers. Rub the eraser in one direction, brush the residue away, and reassess before adding any liquid.
Drying is where most suede damage actually happens. Stuff the shoe with paper to hold shape, keep it at room temperature, and keep it away from radiators, sun, and hair dryers.
Distressed and washed suede are different again. Distressed suede is intentionally uneven, so aggressive brushing can erase the character the pair was sold with.
A suede brush with a natural fiber side and a firmer side covers both jobs: the soft side lifts surface dust, the firmer side revives nap after drying. Keep the brush dry and store it away from moisture so it does not transfer dampness back onto the shoe.
If you are cleaning a mixed-material pair where suede sits next to knit or mesh, clean the suede panel last so stray foam from the other panels does not wick into the nap. A powered tool with a dedicated Suede head and a lower speed setting gives you more control over pressure on these panels than a hand brush, because the speed is consistent and you are not leaning in to compensate for a slow stroke.
A sneaker cleaning brush is only as good as its match to the surface. The right kit covers four jobs: gentle cleaning for delicate uppers, firmer scrubbing for buildup, a stiff brush for outsoles, and a specialized brush for suede. One stiff brush for everything is how panels get scratched.

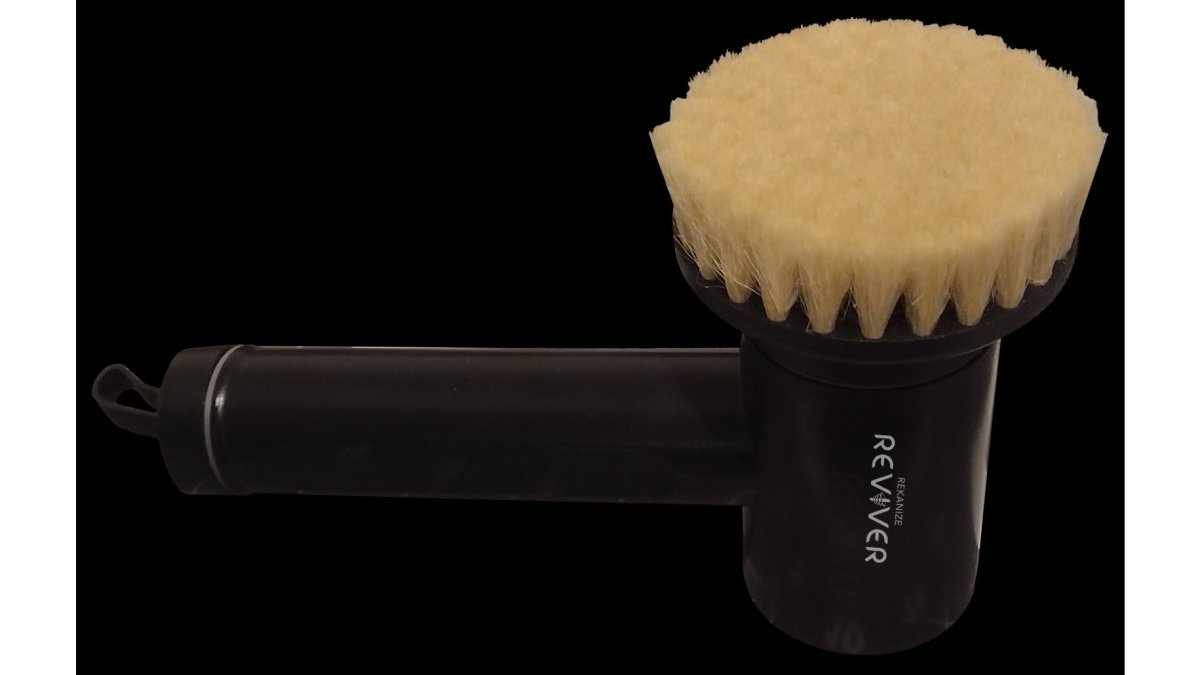
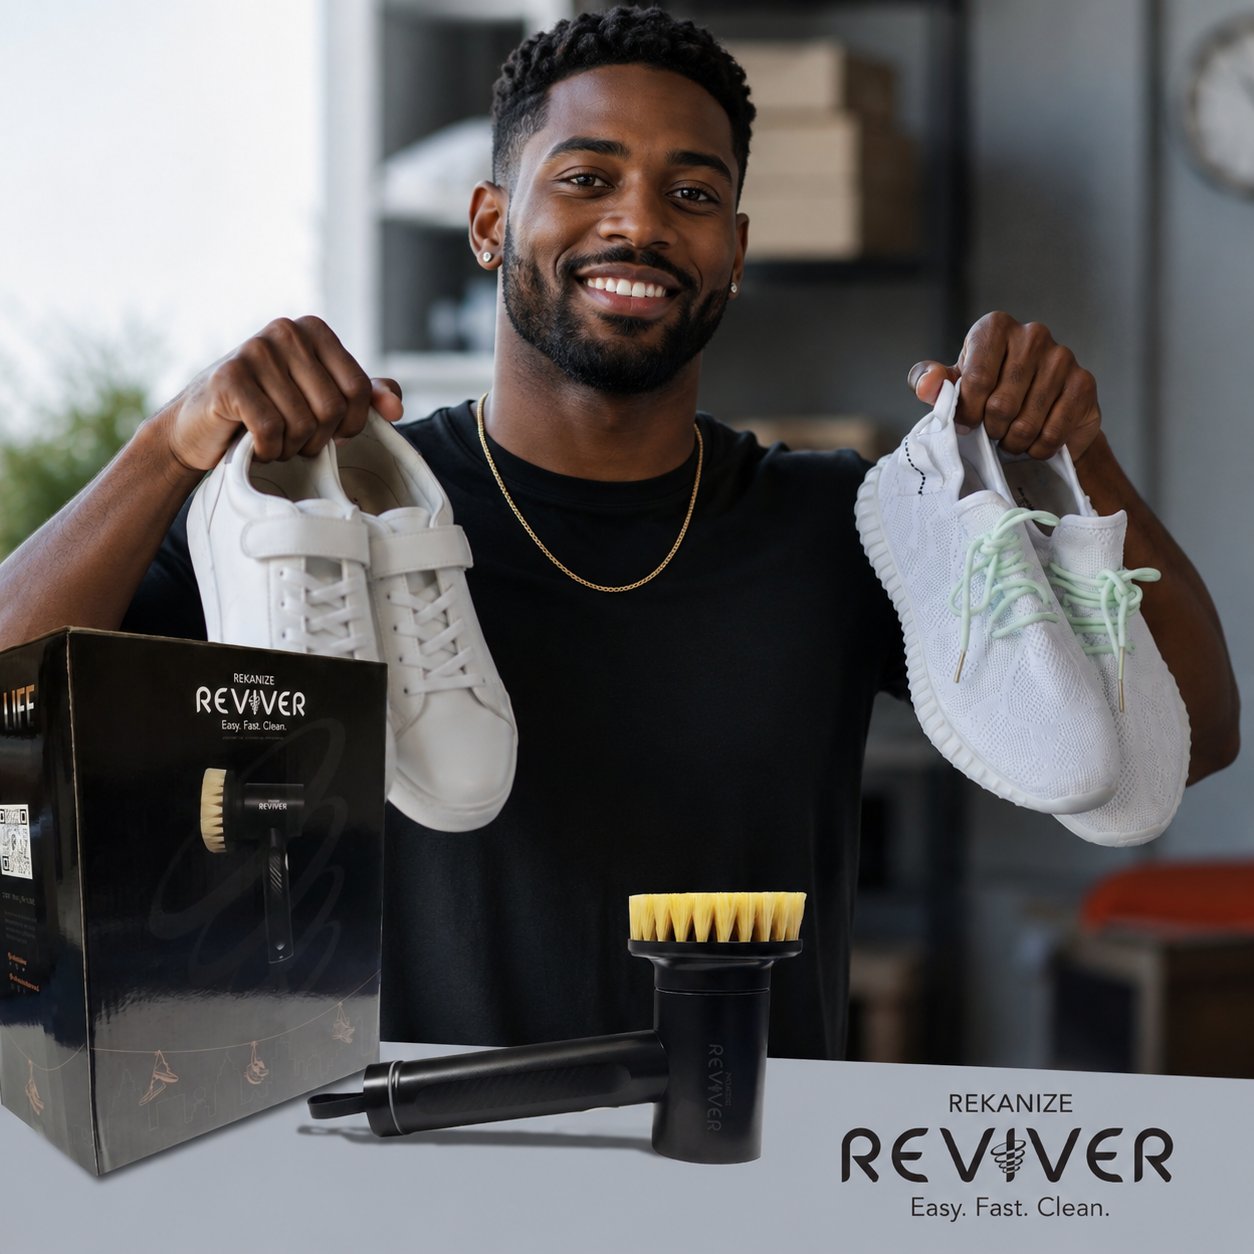
This is where a powered tool earns its place. The Reviver electric sneaker cleaning brush pairs two controlled speeds, 140 RPM for lighter cleaning and 280 RPM for tougher dirt and outsoles, with four interchangeable heads: Soft, Scrub, Sole, and Suede. The 3-inch cleaning surface covers more area per pass and USB-C charging keeps it ready. Different materials get a brush built for them instead of one compromise.
Always test any brush and cleaner on a small, inconspicuous area first, such as the inside of the heel or under the tongue. If color lifts onto the towel, stop and reassess before touching the visible panels.
Most damage happens in the first two minutes of cleaning, not from wear. These are the errors we see most often on high-value pairs:
Storage is half of sneaker care. Clean and fully dry a pair before it goes away, then store it in a cool, dark spot away from sunlight, which fades prints and yellows midsoles over time. Keep pairs in their box or a breathable dust bag, and avoid sealed plastic, which traps moisture.
Stuff shoes with acid-free paper or shoe trees to hold shape, and rotate pairs so no single shoe sits compressed for months. For long-term holds, a light layer of protection spray suited to the material helps repel future stains, but test it first and follow the manufacturer’s care instructions.
Most routine cleaning belongs at home.
Surface problems are the easy DIY call. Loose dirt, fresh scuffs on a rubber midsole, dusty laces, and light odor are all things a controlled at-home routine handles well. These are the cases where a material-matched brush, a mild cleaner, and proper drying do the job without risk.
Set-in problems are the gray zone. A stain that has been on the shoe for weeks, a dye transfer from denim, a yellowed midsole, or a mark on suede that the eraser will not lift are cases where the risk of making it worse goes up.
Structural problems should go to a professional, not a cleaning session. Separating soles, cracked leather, torn lining, broken stitching, and collapsed cushioning are repair issues, and cleaning can worsen them by adding moisture to failing adhesive or stressing already-damaged material.
Component-level thinking helps here too. Laces, insoles, and outsoles are almost always safe to clean at home because they are removable or durable.
The rule we follow: if you are unsure how a material will react, stop and test on a hidden area. Control beats aggression every time on a collectible pair, and a professional is the right call when the problem is structural or when a gentle pass has already failed.
For the at-home side of that decision, a tool that lets you match brush and speed to each panel makes the DIY call easier to make confidently. The Reviver electric sneaker cleaning brush pairs two controlled speeds with four interchangeable heads so you can work a durable outsole at a higher speed and a sensitive upper at a lower one without changing your technique mid-clean.
Start with a dry brush to remove loose dirt, then test any cleaning solution on a small, hidden area to check colorfastness. Clean the upper with a soft brush and gentle motion, keeping water minimal. Remove laces and insoles to clean separately, and let everything air dry away from direct heat. Always follow the manufacturer’s care instructions for the specific materials on your pair.
Yes, but the brush type matters. A soft natural-fiber brush is safe for delicate materials like knit, mesh, and suede when used gently. Firm bristle brushes should be reserved for outsoles and other hard-wearing areas. Avoid stiff brushes on the upper, and never scrub aggressively, as that can fray fibers or damage finishes on limited pairs. A sneaker cleaning brush with interchangeable heads lets you match the tool to the surface.
Let mud dry completely, then brush it off with a specialized suede brush using light strokes to lift the nap. For stains, use a suede-specific cleaner applied sparingly, and avoid soaking the material. Never use water-heavy methods or stiff bristles on suede, as they can mat the fibers. Test any product on a hidden area first, and let the shoes air dry naturally away from heat.
Clean collectible sneakers after each wear if they show visible dirt, or at least once a month for pairs in regular rotation. For storage-only pairs, inspect and lightly dust them every few months. Overcleaning can wear down materials, so spot-clean when possible and reserve deep cleaning for when it’s truly needed. Keeping a consistent routine helps preserve appearance and value.
Store limited edition sneakers in a cool, dry place away from direct sunlight, which can fade colors and degrade materials. Use breathable shoe bags or original boxes with ventilation, and avoid sealed plastic containers that trap moisture. Keep pairs stuffed with acid-free paper or shoe trees to hold shape. Rotate storage pairs periodically and keep them away from heat sources to prevent yellowing and cracking.
Common mistakes include soaking the entire shoe, using harsh household cleaners, scrubbing aggressively with stiff brushes, and drying near direct heat. Skipping a colorfastness test can lead to dye bleeding, and machine washing can warp limited pairs. Also, don’t clean suede with water-heavy methods. Always match the cleaning method to the material and follow manufacturer care instructions to avoid costly damage.
Limited edition sneakers reward patience, not force. Build a routine around dry prep, material-matched brushes, and minimal moisture, and you protect both the look and the value of every pair in your rotation. Rekanize built the Reviver for exactly this: two controlled speeds, four purpose-built brush heads, and a 3-inch cleaning surface that takes the repetitive scrubbing out of sneaker care. Explore Reviver and give your collection the care it deserves.
Can you wash sneakers in the sink? Yes, with the right method: a gentle hand wash, a check of your materials, and a dry that keeps odor away.
Learn how often to clean expensive sneakers based on wear count, material, and conditions. Protect your collection with a routine that works.
